Know the Terrain First
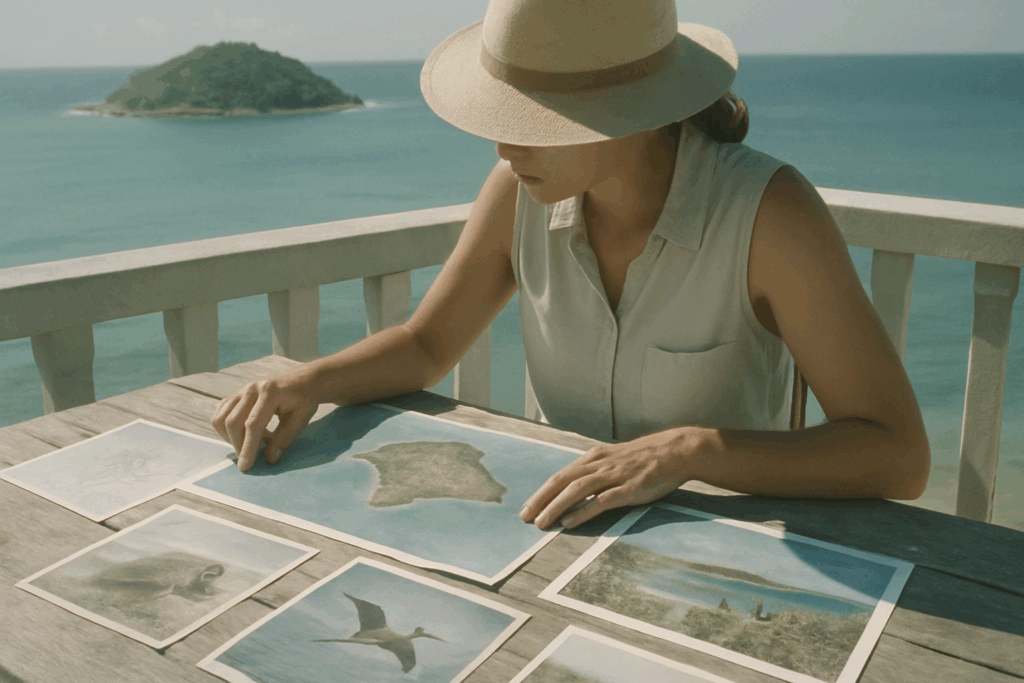
Before you even think about loadouts or alliances, lock in your understanding of the terrain. Beevitius Islands isn’t just one map it’s a constantly shifting high stakes board of zones, traps, and tactical bottlenecks. Study the layouts hard. Each island has distinct environmental hazards lava trenches, fog pits, unstable ledges that can kill you faster than any opponent. Use them to your advantage or they’ll use you.
Resource zones aren’t randomly scattered. They’re often placed perilously close to enemy respawn points. That’s not an accident it’s a power test. Know the timing of enemy cycles and plan efficient, low exposure routes that let you farm and exit without getting pinched. The best players learn to recognize rhythms: when it’s safe to harvest, when it’s time to bail.
Also, every island has traits. Some boost mobility. Others punish stealth. Don’t treat them the same. The way you move on Scar Ridge isn’t the way you play Deepbark. Tailor your strategy to the terrain, or prepare to respawn cold and empty handed.
Want a fuller breakdown? Check out this guide on what’s interesting about Beevitius Islands.
Master the Resource Economy
If you’re diving into Beevitius Islands swinging your weapon before lifting a pickaxe, you’re doing it backwards. The early game isn’t about glory kills it’s about building a foundation. Prioritize gathering. Every rock, root, and liquid crystal you collect in the first ten minutes compounds later. Those who delay harvesting often stall mid game when upgrades start costing more than bragging rights.
Resource scaling is all about efficiency. Bluewood and flux ore are your best bet for long term payoffs they feed into almost every advanced recipe come mid game. Energy dust sounds cool, but it burns out fast. Know what stacks and what stalls.
As for trading: hoard early. The in game economy spikes at regular intervals, and those who unload too soon usually regret it. Mid game is your trade window. That’s when lazy players start coughing up top tier gear for basic mats. Sell to them. Until then, stash everything you can. Real power comes from outgrowing scarcity while everyone else is still scrapping.
Pick Specialized Loadouts (and Stick to Them)
When it comes to Beevitius Islands, versatility can be a trap especially in the late game. Players who commit to a focused loadout consistently outperform jack of all trade styles. Whether you’re playing solo or as part of a squad, going deep into one strength gives you the edge needed to survive in high stakes zones.
Why Generalists Struggle Late Game
Hybrid builds often fall short under pressure from specialized enemies
Resource spread gets thin every upgrade counts more
Focused players unlock elite gear perks faster
If you’re not dominating one area by mid game, chances are you’ll be outrun, outgunned, or outlasted.
Top Loadout Combos by Playstyle
Offensive Tilt:
High Damage Primary + Mobility Booster
Frag Spear + Adrenal Scanner combo for rush and wipe tactics
Defensive Play:
Regeneration Shield + Energy Fortifier
Best mixed with a Base Cloak Field for holding key zones
Stealth Game:
Cloak Matrix + Whisperblade or Smoke Drone setups
Ideal for infiltration, recon, and solo bounty missions
Each of these combos allows you to focus your upgrades, fuel management, and map strategies around your strengths.
Solo vs. Team Loadout Strategies
Solo:
Prioritize mobility and survival over brute force
Multi purpose tools can help but focus on stealth or burst damage
Team Play:
Assign roles early: scout, tank, support, flanker
Avoid overlap redundant gear means wasted potential
Build synergy through loadout bonding: abilities that stack or trigger chains
Stick with your role, build around your strengths, and don’t chase every shiny new drop. Specialized gear unlocks tactical advantages you’ll never get with a scattered setup.
Don’t Overextend Early
Spawning straight into Beevitius with your fists swinging might feel bold but it’s burnt more players than it’s crowned. Early aggression often leads to rushed decisions, poor positioning, and wasted resources. Taking out one enemy early doesn’t mean much if your base is a mess and you have no tools to move.
Smart players pace themselves. They secure a baseline of mobility and defense before picking fights: bounce pads, grapple modules, at least one fallback zone. Movement trumps firepower in the first ten minutes. Why? Because it keeps you alive while the map changes and the high tier loot begins to surface.
Top players build momentum like a slow burn. They gather quiet advantages resource caches, early intel, decent escape routes and only strike once the odds stack heavily in their favor. Instead of chasing flashy kills, they control space. They choose when and where conflicts happen. That’s what wins games in Beevitius.
In short: calm beats chaos. Build first, move smart, hit later.
Own the Weather Cycles

If you’re not watching the sky, you’re throwing away wins. Beevitius Islands isn’t just about combat and crafting it’s a game of timing, and nothing throws timing off like the weather. Fog banks, tropical storms, and solar flares hit on a rotating cycle, and each comes with its own modifiers. Some give you stealth advantages. Others mess with sensors, projectile accuracy, or movement speed.
Top players don’t just react they plan. Fog rolling in? Time to move on a rival base or cross exposed zones with minimal detection. Solar shift incoming? Buff your solar harvest gear and stay put to recharge shields. Storm brewing? Pull back, dig in, and let less prepared teams get chewed up.
Advanced squads use the weather forecast windows like chess clocks. They schedule raids, relocate gear, or stall out fights long enough for atmospheric advantages to kick in.
Bottom line: if you treat the weather as random scenery, you lose. Play the skies like a smart gambler counts cards and you’ll always be one step ahead.
Build Smart, Not Big
In Beevitius Islands, clutter is your enemy. An oversized base might look intimidating, but the smartest players know it’s not about size it’s about time. The best layouts slow down invaders, give you fallback points, and let you reset the tempo on your terms.
Start with choke points that do more than block they delay. Strategic doors, narrow paths, and elevation tiers keep you in control. This isn’t a fortress; it’s a funnel. Every extra second an attacker spends navigating your layout is time you use to reload, reposition, or call for backup.
Trap placement is an art. Don’t drop your best tools on the front porch. Hide them where panic kicks in near retreat zones, blind corners, or just before your core stash. Think of them less as threats and more as decisions the enemy has to make under pressure.
Deterrence is another subtle layer. Use decoy loot caches, bounce back corridors, and noise assets to create confusion. Smart players don’t aim to win every fight they aim to make enemies think twice.
Now the big one mobile bases vs. anchor bases. Movement buys adaptability; anchoring buys durability. Go mobile if you’re resource focused, team oriented, or escaping heat. If you’ve got rare loot or a solid defense crew, anchoring makes sense. The real trick is knowing when to switch. The meta rewards flexibility, not stubbornness.
Capitalize on Rare Events
The Beevitius Islands don’t hand out second chances. Rare events like mid season terrain shifts, time limited boss spawns, or celestial drops can flip a losing run into a win if you know when and how to act.
Most of these events follow subtle but trackable patterns. Island shifts often follow the third storm cycle. Bosses tend to spawn after long lulls in PvP heatmaps. Celestial drops? They usually show up when dusk weather hits two nights in a row. Only a few players are watching these cues if you’re one of them, you control the board.
Preparation is half the win. Keep stash mobility high. Set teleport anchors strategically. Save your best gear for these breaks, not routine scraps. And always scout some of the rarest drops appear in zones that look inactive but are minutes from turning hot.
The pros don’t just play hard they play aware. If your alerts are silent and your radar passive, you’re leaving wins on the table.
Level Up Through Collaborations
Surviving Beevitius Islands solo is possible but not smart. Alliances help you go further, faster. Just don’t confuse collaboration with friendship. The best alliances are dead simple: you bring value, they bring value, and nobody gets too cozy. Sentimentality gets people cornered. Tactical thinking keeps you alive.
The basics of a strong alliance? Clear divisions. One player handles resource intake, another scouts and sets traps, a third secures your perimeter or tracks enemy movement. When roles are clean, efforts compound.
But here’s the darker play. Some alliances aren’t meant to last. You may need to flip on your partner if they’re holding you back or sitting on an ultra rare item you need. Done right, a strategically timed betrayal pushes you to endgame while leaving the other side scrambling. It’s not about being cruel. It’s about being calculated. On Beevitius Islands, loyalty only goes as far as your win streak.
Use Distraction Tactics
In Beevitius Islands, brute force gets you noticed and not in a good way. The smartest players know how to win without being seen. Misdirection is a core skill, not a gimmick. Decoy builds, fake bases, and staged fights pull enemy vision and attention exactly where you want it not where you actually are.
Build a flashy outpost with open doors and half stocked crates? That’s bait. Set off a few shots in one zone while your team slips past in another? That’s cover. Even a dummy movement pattern on the radar just walking in circles can feed false intel to opponents.
In high tier matches, some of the best wins weren’t from overpowering, but outsmarting. One elite squad erected a fake fortress near the resource zone, lured in three rival teams, and watched them tear each other apart while they quietly geared up elsewhere. Another solo player used a low tier drone trail to suggest retreat, then flanked for a surprise finish.
Point is, if your opponent is reacting to what you want them to see, you’ve already got the upper hand. Distraction doesn’t just delay it dominates.
Adapt Constantly or Lose Fast
The Beevitius Islands game world is dynamic by design. The developers are constantly shaking up the meta what gave you an edge last month might leave you vulnerable in the next update. If you’re serious about climbing the ranks or staying competitive, flexibility is your most important skill.
The Ever Changing Meta
Game mechanics shift regularly due to balance patches, new gear drops, or event driven mechanics.
Holding on too long to outdated strategies can trap you in a losing loop.
Top tier players review patch notes and test changes weekly.
Stay Plugged Into Updates
Follow official developer announcements, patch rundowns, and influential creators breaking down updates.
Be part of active forums or Discord servers where new tactics and counterplays are discussed in real time.
Build flexibility into your loadout and economy approach to allow rapid pivots.
Why the World Evolves
Beevitius isn’t just another static survival game it’s an intentional ecosystem:
Environmental rebalancing mimics natural ecosystem drift.
Rare events and seasonal changes are designed to shift gameplay emphasis every few weeks.
Explore the deeper design logic here: about beevitius islands


 Veslina Vaythorne is the kind of writer who genuinely cannot publish something without checking it twice. Maybe three times. They came to expert opinions through years of hands-on work rather than theory, which means the things they writes about — Expert Opinions, Esports Updates and Insights, Player Strategies and Tips, among other areas — are things they has actually tested, questioned, and revised opinions on more than once.
That shows in the work. Veslina's pieces tend to go a level deeper than most. Not in a way that becomes unreadable, but in a way that makes you realize you'd been missing something important. They has a habit of finding the detail that everybody else glosses over and making it the center of the story — which sounds simple, but takes a rare combination of curiosity and patience to pull off consistently. The writing never feels rushed. It feels like someone who sat with the subject long enough to actually understand it.
Outside of specific topics, what Veslina cares about most is whether the reader walks away with something useful. Not impressed. Not entertained. Useful. That's a harder bar to clear than it sounds, and they clears it more often than not — which is why readers tend to remember Veslina's articles long after they've forgotten the headline.
